
Coloring books are no longer just child’s play. In fact, the trend of adult coloring books is a booming business these days, spawning tons of books, colored pencils and markers aimed at people wanting to get “unplugged,” reduce stress and enhance their focus and creativity. Coloring allows for a soothing, creative experience that’s easy to do.
Woodcraft’s Marketing Director Liz Matheny recently took coloring to a new level by transferring a pattern to wood, and her results are gorgeous!
 1. Transfer
Liz first chose a design from a Color Art coloring book called Designing Colors. She marked the location on the poplar board she had selected, lining up the portion of the design she wanted on the width of the wood. A light colored wood works best, and basswood burns very nicely.2. Woodburn
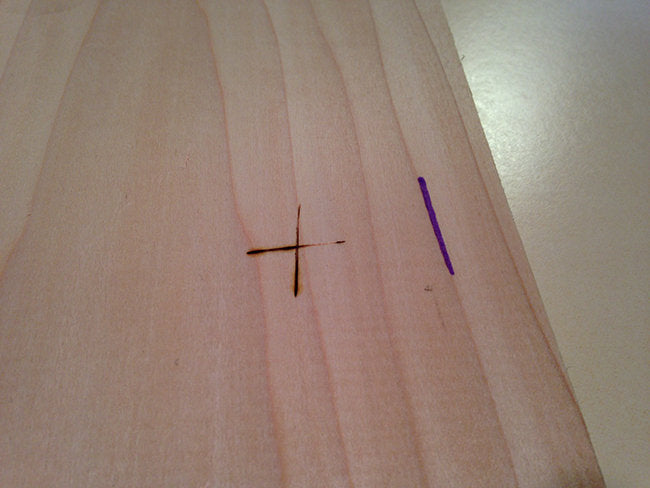
Before burning or coloring, Liz performed a test patch on her board. Certain woods, such as poplar, paulownia or pine, have alternating soft and hard grains making it more difficult to anticipate the pressure and heat when burning.

Woodburn the pattern, following the transferred lines.

Completed woodburning - now for the fun part!
 3. Sand
Once Liz finished burning, she noticed she still had some visible marks on the wood from the transfer. Since the wood was very soft and the pencil lines were very dark, she chose to sand the wood instead of trying to erase the lines. She began sanding with 120-grit progressing to 320-grit sandpaper.
 4. Color
Liz next colored in the design with colored pencils, adding some shading and blending of colors as she went. A package of 12 colored pencils was used in this project.
Depending on what you want to do with your piece, a topcoat of finish might be recommended at this point.
Idea Starters
This technique opens up a whole world of possibilities for using coloring pages on wood. Here are a few ideas to get you started:
1. Paint your last initial, then add a design from a coloring page as an accent around it.
2. Decorate the top of a jewelry box.
3. Create a design with a message on scrapwood or part of a pallet.
4. Make wooden ornaments.
5. Add a whimsical design to a set of coasters. (Extra topcoat recommended.)
6. Trace coloring pages onto a toy box lid.
7. Enhance a wooden picture frame with coloring art.
8. Dress up a wooden spoon and hang it in the kitchen.
9. Color the top of a recipe box.
10. Brighten up a small white end table with some color.

How can you see this technique being used? Send us pictures of your completed coloring art projects!
We hope you’ll be inspired!


